
Chlorophytum comosum ‘Vittatum’ – Features leaves with a central white stripe
Chlorophytum comosum ‘Variegatum’ – Displays white leaf margins with a green center
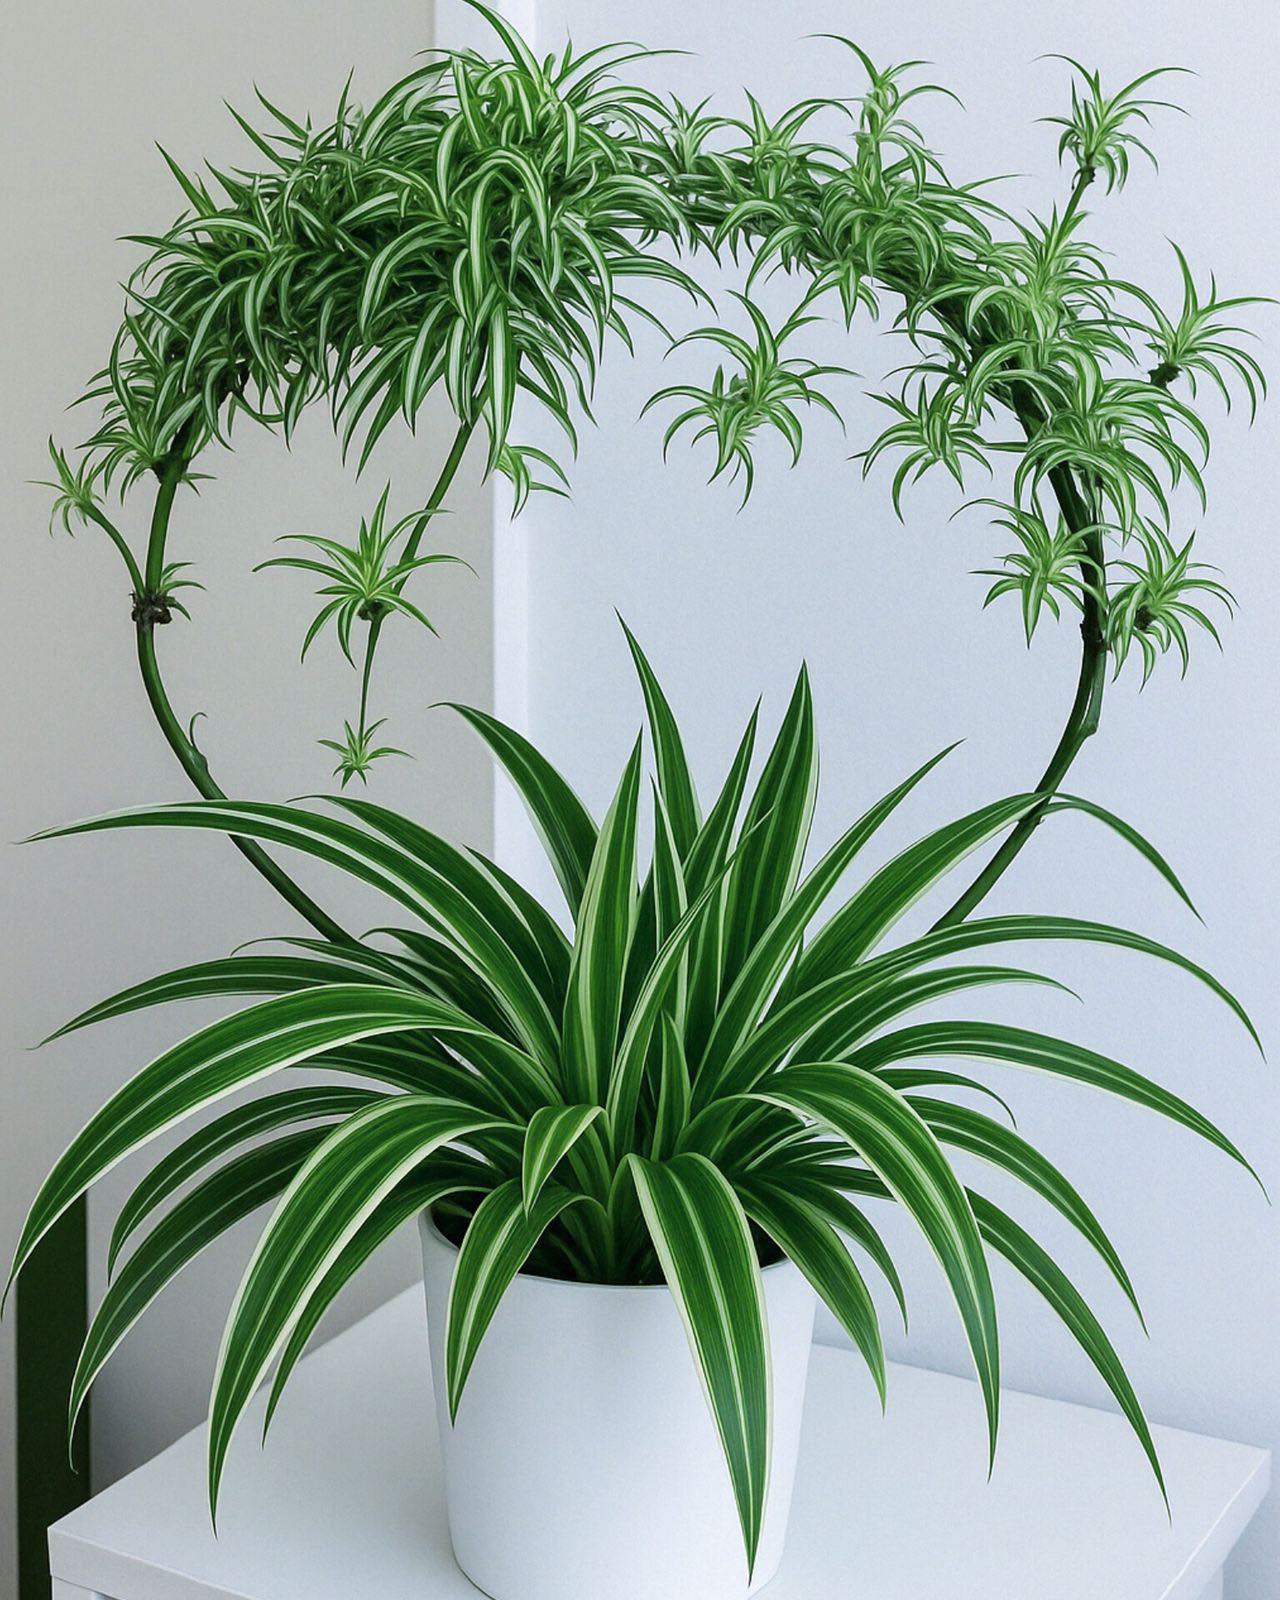
Chlorophytum comosum ‘Bonnie’ – A compact cultivar with curly, twisted leaves
Chlorophytum comosum ‘Solid Green’ – All-green variety without variegation
Why Spider Plants Are Great for Your Home
Air Purification Champion
Spider Plants gained significant popularity after NASA’s Clean Air Study revealed their impressive air-purifying abilities. These plants effectively remove common household toxins including:
Formaldehyde (found in some furniture and building materials)
Xylene (present in many paints and varnishes)
Carbon monoxide (from gas appliances and cigarette smoke)
A few strategically placed Spider Plants can significantly improve your indoor air quality, making them particularly beneficial in city apartments or newly renovated spaces.
Perfect for Beginners
Few houseplants match the Spider Plant’s forgiving nature. They tolerate a wide range of growing conditions and bounce back quickly from occasional neglect, making them ideal for:
First-time plant owners
Busy individuals with limited time for plant care
Offices and commercial spaces
Children learning about plant responsibility
Natural Decor Elements
With their architectural form and cascading growth habit, Spider Plants add visual interest to any space when displayed in:
Hanging baskets where the plantlets can dangle freely
Elevated plant stands or shelves
Macramé hangers for a boho aesthetic
Modern planters as statement pieces
Complete Spider Plant Care Guide
Light Requirements
Spider Plants thrive in bright, indirect light but adapt remarkably well to various light conditions. While they can tolerate lower light levels, their growth may slow and variegation might become less pronounced.
Best locations:
Near east or west-facing windows
A few feet away from south-facing windows
North-facing windows (though growth may be slower)
Avoid:
Direct, harsh sunlight which can scorch the leaves
Extremely dark corners with no natural light
Watering Needs
Spider Plants prefer a moderate watering schedule with soil allowed to dry out slightly between waterings. Their thick, tuberous roots store water, making them somewhat drought-tolerant.
Watering tips:
Water when the top 1-2 inches of soil feels dry to the touch
Reduce watering frequency during winter months
Use room-temperature water when possible
Ensure proper drainage to prevent root rot
Signs of improper watering:
Brown leaf tips often indicate under-watering or low humidity
Yellowing leaves may suggest overwatering
Soft, mushy stems near the base indicate severe overwatering
Soil and Potting
Spider Plants aren’t particularly fussy about soil, but they perform best in:
Well-draining, loamy potting mix
Standard houseplant soil with added perlite for better drainage
pH levels between 6.0 and 7.2
Repotting:
Repot every 1-2 years or when roots become visible through drainage holes
Choose a pot 1-2 inches larger than the previous container
Spring and early summer are ideal times for repotting
Temperature and Humidity
Spider Plants are comfortable in average household conditions:
Ideal temperature range: 65-75°F (18-24°C)
Can tolerate temperatures as low as 35°F (2°C) for short periods
Prefers moderate humidity but adapts to drier conditions
Humidity tips:
Occasional misting benefits Spider Plants in very dry environments
Grouping plants together naturally increases humidity
Avoid placing near heating vents or air conditioners
Fertilization
Spider Plants don’t require heavy feeding:
Apply a balanced, water-soluble fertilizer at half strength once a month during spring and summer
Reduce or eliminate fertilizer during fall and winter
Over-fertilization can cause brown leaf tips and salt buildup
Propagation: Growing Your Spider Plant Family
One of the most delightful aspects of Spider Plants is how readily they reproduce. The small plantlets (sometimes called “spiderettes” or “babies”) that develop on long stems make propagation incredibly simple.
Water Propagation
Select a healthy plantlet with some small roots already forming
Place it in a container of clean water, ensuring the root area is submerged
Position in bright, indirect light and change the water weekly
Once roots reach 1-2 inches in length (usually 2-3 weeks), transplant to soil
Direct Soil Propagation
Leave the plantlet attached to the mother plant until it develops small roots
Place a small pot with moist soil near the mother plant
Pin the plantlet onto the soil surface using a bent paperclip or small rock
Once established (2-3 weeks), cut the connecting stem
Air Layering
Fill a small pot with moist soil
Place the pot near the mother plant
Position the plantlet on the soil surface while it remains attached to the parent
Once rooted, sever the connection
Common Problems and Solutions
Brown Leaf Tips
Causes:
Fluoride or chlorine in tap water
Low humidity
Salt buildup from fertilizer
Dry soil
Solutions:
ADVERTISEMENT
